

As the warm sunshine of July casts a glow over backyard barbecues and firework displays, the anticipation of celebration fills the air. There’s nothing quite like a dessert that embodies the spirit of Independence Day, and these 4th July Brownies are just the treat to elevate your festivities to new heights. Imagine cutting into a rich, fudgy square adorned with vibrant red, white, and blue sprinkles, capturing the essence of patriotism in each bite.
What I love about these brownies is not just their delightful flavor, but how quickly they come together—even amidst the chaos of planning a summer gathering. With minimal prep time and maximum satisfaction, this simple recipe is sure to become a staple at your holiday celebrations. Whether you’re serving them at a family picnic or indulging while watching the fireworks, these brownies promise to delight young and old alike. Let’s dive into making these festive treats that will have everyone cheering for more!
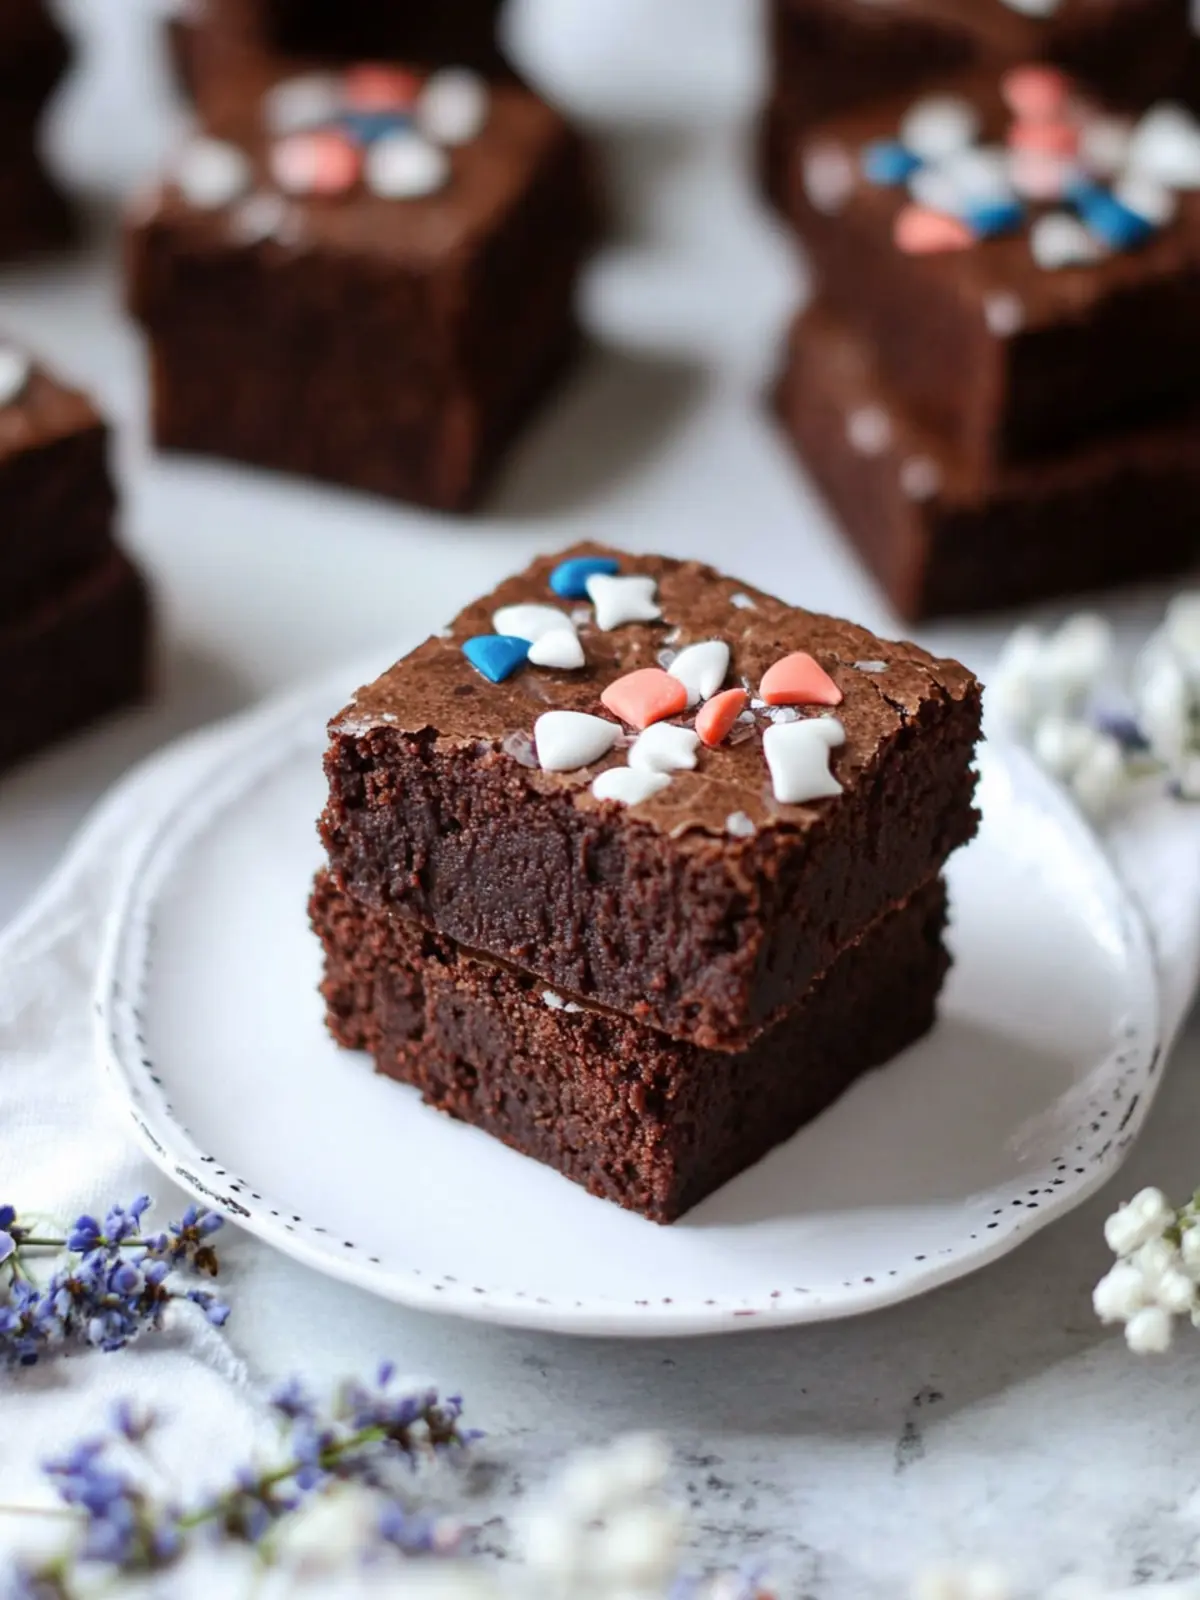
Why are 4th July Brownies a must-try?
Irresistible Fudginess: These brownies boast a dense, rich texture that melts in your mouth, making them a chocolate lover’s dream.
Quick and Easy: With simple ingredients and straightforward instructions, you can whip these up in no time—perfect for busy summer days.
Festive Appeal: Topped with red, white, and blue sprinkles, they not only taste great but also look stunning on any holiday dessert table.
Crowd-Pleaser: Young and old alike will adore these treats, making them a go-to recipe for family gatherings or BBQs.
Versatile Options: Feel free to customize with different chocolates or nuts; there’s a combination for everyone! Add a scoop of vanilla ice cream for an indulgent dessert experience.
These 4th July Brownies are bound to become a delicious highlight of your celebrations!
4th July Brownies Ingredients
For the Brownies
• 70% Dark Chocolate (7 oz/200g) – Provides a rich chocolate flavor, but can be swapped with semi-sweet chocolate for a sweeter taste.
• Salted Butter (¾ Cup/180g) – Adds richness and moisture; unsalted butter works too, just adjust the salt in the recipe.
• White Sugar (1¼ Cups/250g) – Sweetens the brownies and aids in texture; brown sugar can deepen the flavor when substituted.
• Eggs (3 Medium) – Acts as a binder for structure; for a vegan option, use flax eggs.
• Vanilla Extract (1 tsp) – Enhances flavor; can be omitted or swapped with almond extract for a different aroma.
• All-Purpose Flour (¾ Cup/100g) – Provides structure to hold the brownies together; gluten-free flour is a great substitute.
• Cocoa Powder (1 tbsp) – Intensifies the chocolate flavor; consider Dutch-processed cocoa for a richer taste.
• Chocolate Chips (½ Cup/85g) – Adds gooey pockets of chocolate; try white or milk chocolate chips for a fun twist.
For the Topping
• Chocolate Frosting (14 oz/400g) – Adds sweetness and moisture on top; homemade frosting gives a personal touch.
• Sprinkles (4 tbsp red, white, and blue) – Decorative topping for a festive look; they’re optional, but enhance presentation beautifully.
• USA Flag Cake Topper Decorations (16 pcs, optional) – Adds extra flair for celebration ambiance.
These 4th July Brownies are perfect for adding joy and taste to your Independence Day festivities!
How to Make 4th July Brownies
-
Preheat the Oven: Set your oven to 320°F (160°C; or 285°F for fan ovens) to ensure even baking of those fudgy brownies. While it heats, line an 8×8-inch baking tin with baking paper for easy removal later.
-
Melt Chocolate and Butter: In a saucepan over low heat, gently melt together the dark chocolate and salted butter, stirring occasionally. Let this mixture cool for about 10 minutes before using, creating a silky base for your brownies.
-
Whisk Eggs and Sugar: In a large bowl, whisk together the eggs, white sugar, and vanilla extract until the mixture becomes pale and voluminous. This step is key for imparting a beautiful airy texture to your brownies.
-
Incorporate the Chocolate Mixture: Carefully fold the cooled chocolate mixture into the egg and sugar blend. Take your time here; it’s all about gently incorporating to maintain that wonderful fluffiness!
-
Add Flour and Cocoa: Gently incorporate the all-purpose flour and cocoa powder into your brownie mixture until just combined. Be careful not to overmix—it’s that fudgy texture we’re aiming for!
-
Stir in Chocolate Chips: Add the chocolate chips to the batter, mixing until they’re evenly distributed. Pour the batter into the lined baking tin and spread it out evenly with a spatula.
-
Bake the Brownies: Pop your tin in the preheated oven and bake for 35-40 minutes. They should have formed a crust on top, with edges pulling slightly away from the tin while the center remains just a little wobbly.
-
Cool and Set: Allow the brownies to cool in the tin, then transfer them to the fridge overnight (or freezer for 2 hours) to set properly. This step gives them that appealing fudgy consistency!
-
Frost and Decorate: Once chilled, frost with your chosen chocolate frosting, sprinkle those festive red, white, and blue sprinkles generously, cut into squares, and top with the cute USA flag cake decorations for that extra celebration touch.
Optional: Serve with a scoop of vanilla ice cream for a truly indulgent dessert experience!
Exact quantities are listed in the recipe card below.
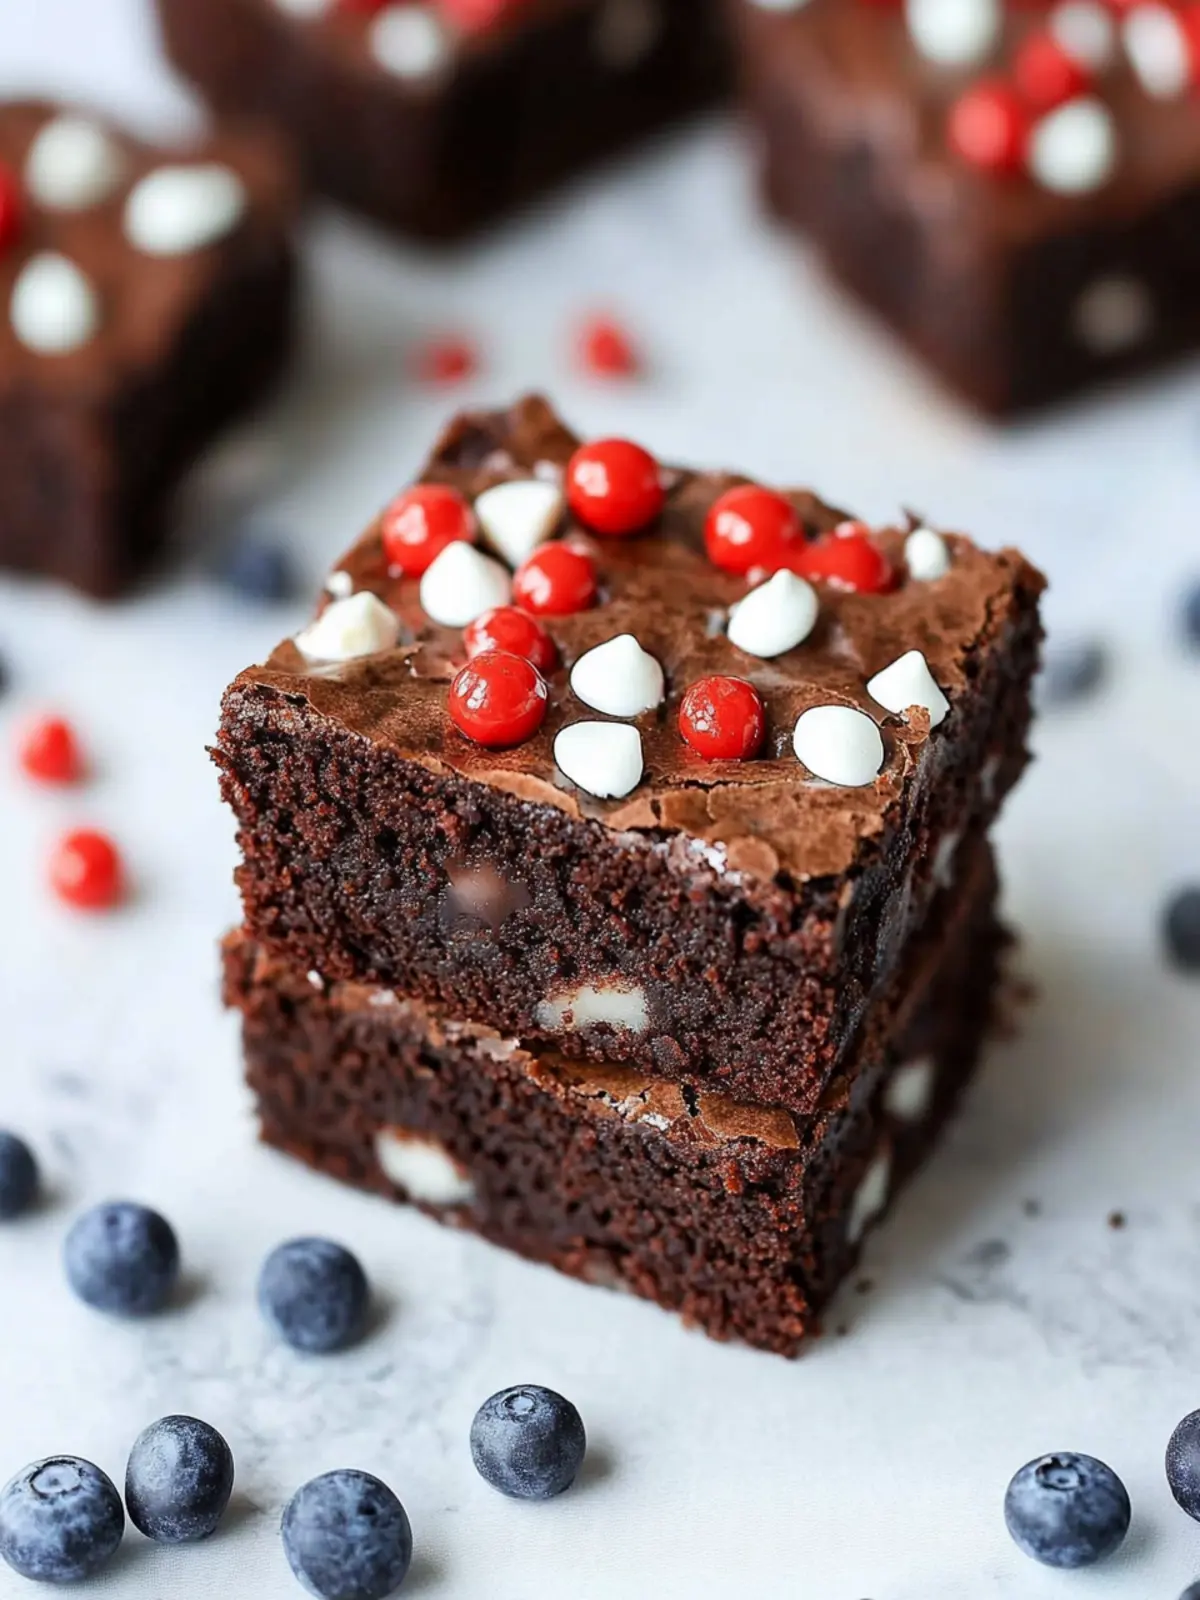
Expert Tips for Making 4th July Brownies
-
Cool Before Chilling: Allow the brownies to cool completely before transferring to the fridge for the best texture and fudginess.
-
Check Oven Temp: Use an oven thermometer to ensure your baking temperature is accurate; slight variations can lead to undercooked or overbaked brownies.
-
Chill for Chewiness: For a firmer and chewier bite, let the brownies chill overnight. This allows those flavors to meld beautifully.
-
Don’t Overmix: When folding in the dry ingredients, mix just until combined. Overmixing can create a cake-like texture instead of the desired fudgy finish.
-
Decorate Creatively: Feel free to customize your toppings with different sprinkles or even a drizzle of white chocolate for an extra festive touch on your 4th July Brownies!
Make Ahead Options
These 4th July Brownies are perfect for meal prep, saving you time on the day of your celebration! You can prepare the brownie batter and refrigerate it for up to 24 hours before baking; just cover it tightly with plastic wrap to prevent moisture loss. Alternatively, bake the brownies and chill them in the fridge for up to 3 days to intensify their fudginess. When ready to serve, simply frost them with chocolate frosting, add the colorful sprinkles, and cut them into squares. This way, they’ll be just as delicious and festive, allowing you to enjoy more time with your loved ones!
4th July Brownies Variations & Substitutions
Feel free to get creative and tailor these brownies to your taste for all your festive celebrations!
- Milk Chocolate: Swap dark chocolate for milk chocolate for a sweeter, creamier brownie that everyone will love.
- Nutty Crunch: Add chopped walnuts or pecans to the batter for a delightful crunchy contrast to the fudginess. Nuts lend a lovely texture, making your brownies even more satisfying!
- Vegan Option: Use flax eggs instead of traditional eggs and coconut oil in place of butter for a vegan-friendly treat that still tastes indulgent.
- Gluten-Free: Replace all-purpose flour with a gluten-free blend to make these brownies suitable for gluten-sensitive friends—no one will notice the difference!
- Minty Twist: A teaspoon of mint extract can infuse your brownies with a refreshing twist—a perfect pairing with chocolate!
- Berry Burst: Fold in some fresh or freeze-dried raspberries or blueberries for a fruity note that complements the patriotic colors beautifully.
- Spicy Kick: Add a pinch of cayenne pepper or chili powder for a surprising kick that balances the sweetness and adds depth.
- Chocolate Drizzle: For extra flair, drizzle with melted white chocolate after frosting for a decorative touch that’s as delicious as it is pretty.
With these variations, your 4th July Brownies are destined to impress at any gathering!
What to Serve with 4th July Brownies?
These festive brownies are perfect for celebrating summer, and they pair beautifully with delicious sides and drinks!
-
Vanilla Ice Cream: The creamy smoothness of vanilla ice cream is the ultimate complement to the rich chocolaty brownies—it’s a classic combination that never disappoints.
-
Fresh Berries: Strawberries, blueberries, and raspberries add a refreshing burst of flavor and a touch of tartness, creating a delightful contrast that enhances the overall dessert experience.
-
Whipped Cream: Light and fluffy, whipped cream adds an airy texture that balances the decadence of the brownies, making each bite feel indulgent yet light.
-
Chocolate Sauce: Drizzling warm chocolate sauce over the brownies elevates the treat to a whole new level. The extra chocolate is perfect for any sweet tooth!
-
Mint Tea: A refreshing mint tea serves as a lovely palate cleanser and adds herbal notes that perfect harmony with the sweet richness of the brownies.
-
Sparkling Lemonade: This zesty and bubbly drink is a fantastic way to cool down on a warm July day, and its citrus notes make for a bright pairing with the dense, fudgy brownies.
Serve these 4th July Brownies with one or more of these options, and watch your gathering turn into a festive delight!
How to Store and Freeze 4th July Brownies
Room Temperature: Keep brownies in an airtight container at room temperature for up to 3 days; this preserves their fudgy texture and flavor.
Fridge: Store in the refrigerator for up to one week in an airtight container to maintain freshness and moisture.
Freezer: For longer storage, freeze brownies in a freezer-safe container or wrap tightly in plastic wrap for up to 3 months. Thaw at room temperature or in the fridge before serving.
Reheating: For a warm treat, reheat brownies in the microwave for about 10-15 seconds before serving; enjoy that melty chocolate goodness!
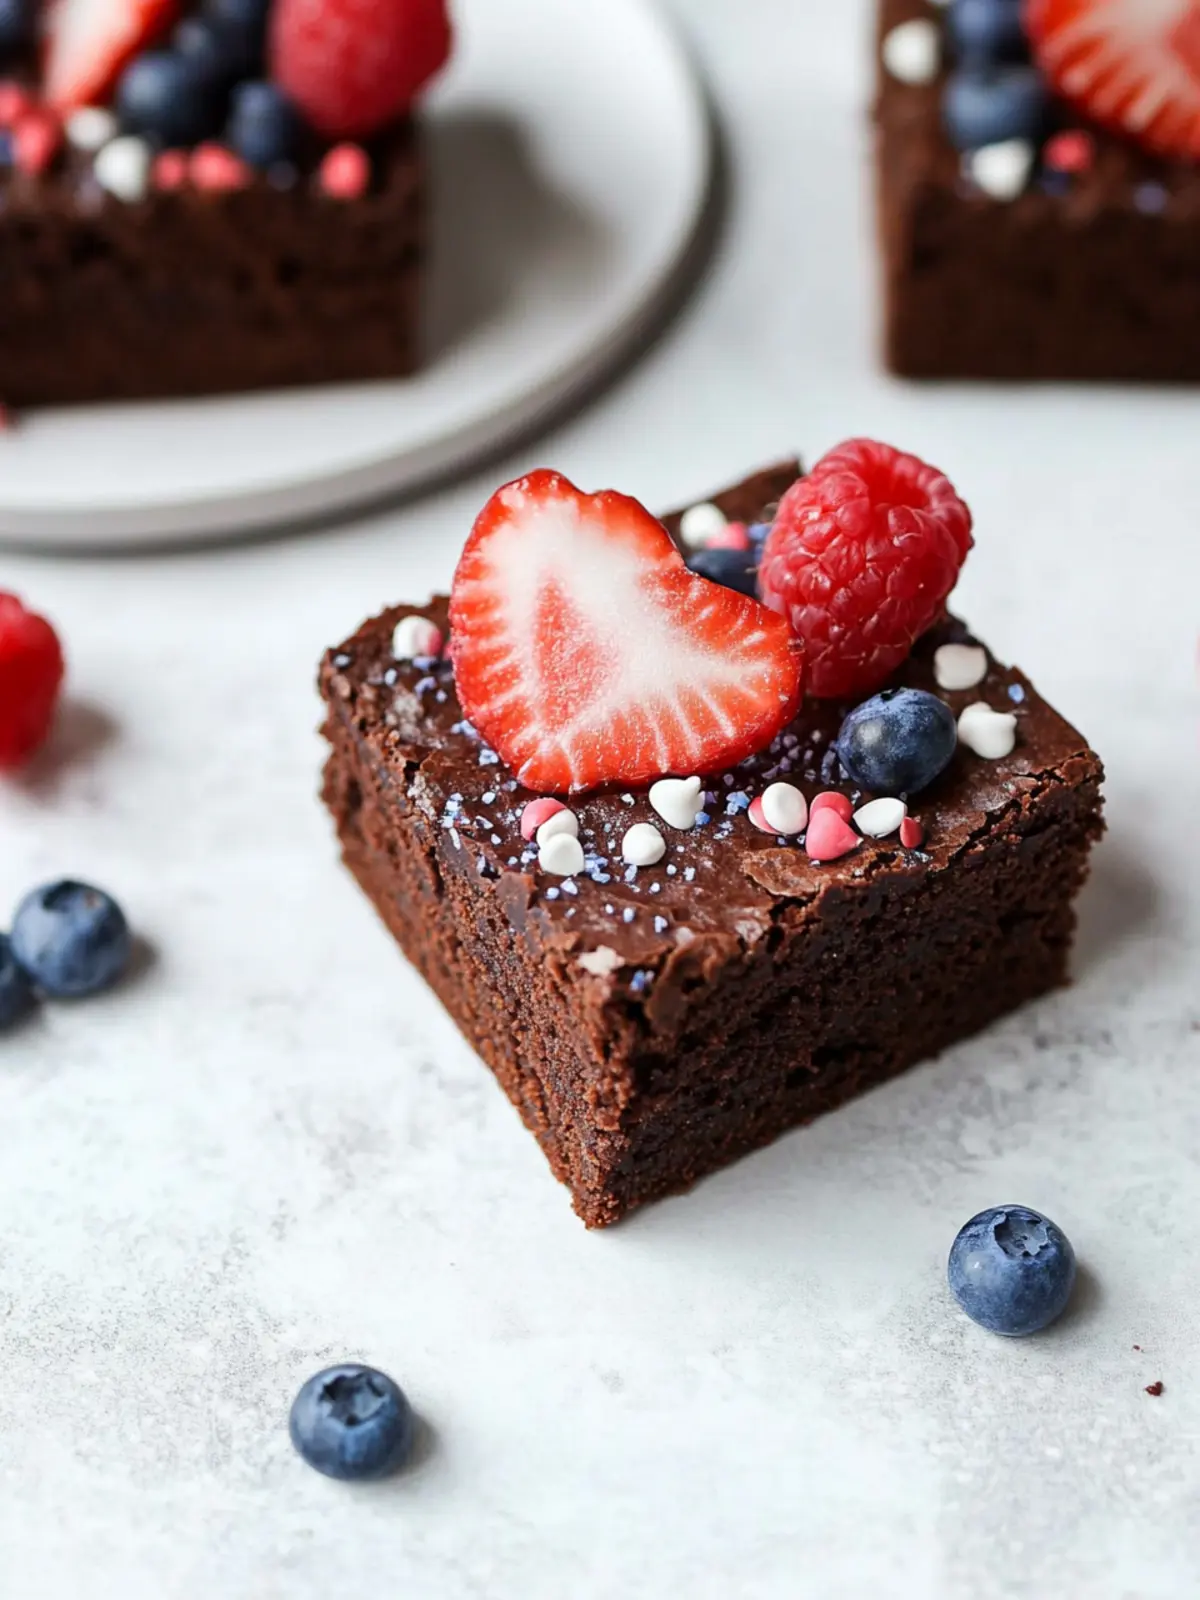
4th July Brownies Recipe FAQs
How do I choose the right chocolate for my brownies?
Absolutely! For these 4th July Brownies, using 70% dark chocolate will give you a rich flavor. If you prefer a sweeter taste, semi-sweet chocolate is a great alternative. Just pay attention to the brand and look for chocolates with high cocoa content for the best results!
What’s the best way to store my brownies?
I recommend keeping your brownies in an airtight container at room temperature for up to 3 days. If you want them to last a bit longer, pop them in the fridge, where they’ll stay fresh for up to a week.
Can I freeze my brownies? How?
Absolutely, freezing is a fantastic option! Wrap your cooled brownies tightly in plastic wrap and then place them in a freezer-safe container. Your 4th July Brownies will stay good for up to 3 months. When you’re ready to enjoy them, simply thaw them at room temperature or in the fridge for a few hours.
What should I do if my brownies are too cakey?
Very much! If you find your brownies have turned out more cake-like than fudgy, it’s likely due to overmixing the batter. To achieve that dense texture, mix the dry ingredients just until combined—less is often more! You might also want to double-check your baking time; a shorter bake leads to that fudgy center.
Are these brownies safe for people with allergies?
If you’re accommodating dietary restrictions, simply swap the eggs with flax eggs for a vegan option, and use gluten-free flour if needed. Always pay close attention to labels on your chocolate and butter to ensure they meet your specific dietary requirements.
How can I enhance the festive appearance of my brownies?
What a fun question! For a truly festive look, consider adding a drizzle of white chocolate over the top or using colorful sprinkles in addition to the red, white, and blue ones. You could also arrange your brownies on a festive platter with themed decorations to celebrate Independence Day!
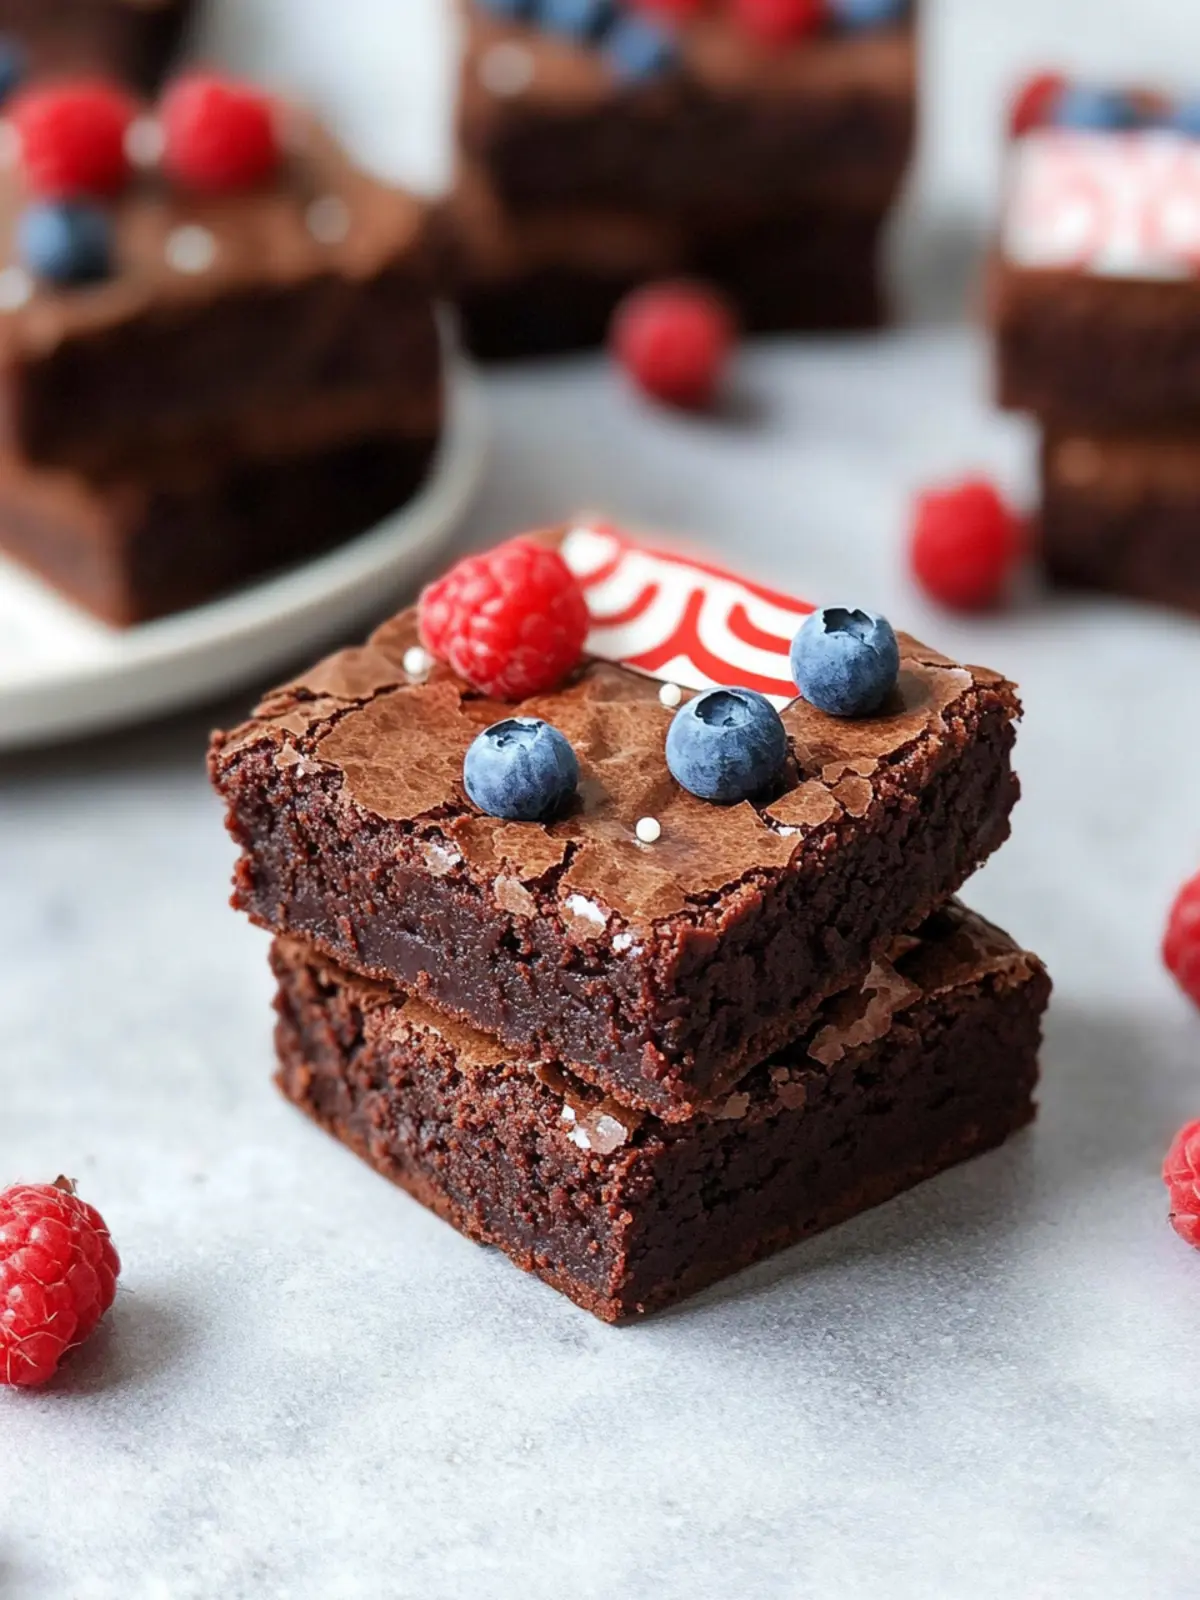
Fudgy 4th July Brownies for a Festive Celebration
Ingredients
Equipment
Method
- Preheat the Oven: Set your oven to 320°F (160°C; or 285°F for fan ovens) and line an 8x8-inch baking tin with baking paper.
- Melt Chocolate and Butter: In a saucepan over low heat, melt together the dark chocolate and salted butter, then let cool for about 10 minutes.
- Whisk Eggs and Sugar: In a large bowl, whisk together the eggs, white sugar, and vanilla extract until pale and voluminous.
- Incorporate the Chocolate Mixture: Fold the cooled chocolate mixture into the egg and sugar blend gently.
- Add Flour and Cocoa: Incorporate the all-purpose flour and cocoa powder into the mixture until just combined.
- Stir in Chocolate Chips: Add the chocolate chips to the batter and mix until evenly distributed, then pour into the baking tin.
- Bake the Brownies: Bake for 35-40 minutes or until a crust forms on top and edges pull away from the tin.
- Cool and Set: Allow brownies to cool in the tin, then refrigerate overnight or freeze for 2 hours.
- Frost and Decorate: Frost with chocolate frosting, sprinkle with decorations, cut into squares, and add cake toppers.